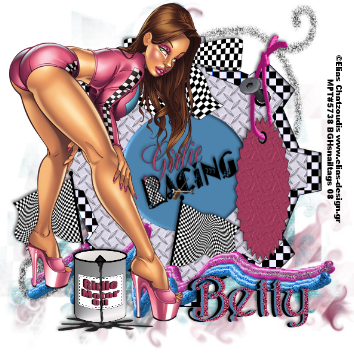
Tube by Elias Chatzoudis found Here..
Scrap is mine found here called "Girlie Racing"
Mask is mine also found here called "Mask Group of Four"
Open a 600 X 600 filled with white..Copy and Paste the Paper 2..
Open the Mask and minimize, go to layers, select New Mask Layer,
from Image,select the mask in the drop menu and have the
Invert Mask Data unchecked, Click OK. Merge Group.
This Mask is smaller than the 600 x600.. So you will
use your Deform Tool to pull it into a size that fits..
now Duplicate, Mirror then flip.Pull the top Mask out
so the purple color show more. Close out the white background
and highlight the top mask layer and Merge Visible.
In Effects, Hue and Saturation, hue and sat. lightness,
have the colorize checked, slide the bar to these setting,
hue 185-saturation 81-lightness 2-OK.Go to texture Weave
all setting at 1-Weave color #404040-Gap color #000000 ,
Select All,Now go to adjust, add noise, set at Gaussia-
Monochrome checked, noise at 60%, OK, Select none.
Open the Black and Silver Frame, Copy and paste as new Image,
use magic wand, in center, go to selections, Modify, Expand at X1,
fill with color.Copy and Paste to Mask layers.
Note: I use the Deform Tool to re-size,causes less distortion.
Add Elements, and Tube..
If you want to save a JPEG, open the white
background back up and Mearge Visible.
If you want the clear background, then leave the white closed
and save as PNG.Don't forget the Copy Rights.
TUT by ©BGHsnailtags
Do Not copy and Paste any part of this TUT
Give Credit Where Credit is Due..


No comments:
Post a Comment